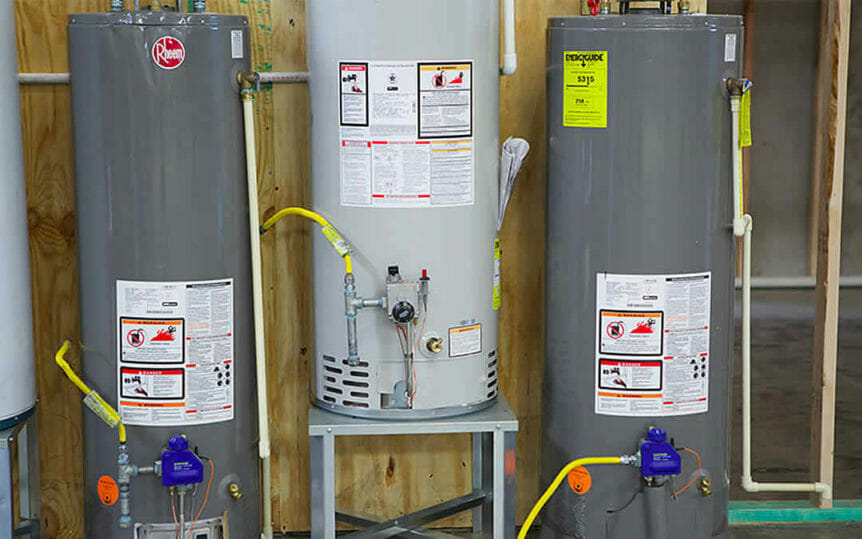
Testing Your Water Heater’s Temperature and Pressure Relief (TPR) Valve
This will get your attention: Your water heater can become a bomb in your home!
We’re not kidding. But you can prevent this from happening with one simple task – testing and checking your water heater’s Temperature and Pressure Relief (TPR) valve regularly.
Like many appliances, you probably don’t think about your water heater until there’s a problem. But unlike your other appliances, a problem with your water heater can be disastrous, or even fatal. Hot water creates pressure in the form of expanding steam, so your water heater has a safety valve — the TPR valve. This valve automatically releases pressure when temperatures get too high and, quite literally, keeps your water heater from exploding if things go wrong.
But things can go wrong with the TPR valve, too, and that’s when disasters happen. If not checked and tested, corrosion or mineral deposits can build up and prevent the valve from operating correctly and releasing built-up pressure. And if it can’t do its job? Well, Bam! You’re replacing your water heater, along with part of your roof and the side of your house – and that’s if you’re lucky. Water heater explosions can be far worse than that.
So, regular checking and testing of your TPR valve matters greatly to the safety of your home and family. Plus, it’s easy to do, so there’s no reason to delay.
When to Test Your TPR Valve?
Experts recommend testing your TPR valve every 6 to 12 months. The more frequent the testing, the more quickly you’ll spot potential problems and reduce the risks of costly water heater leaks or dangerous corrosion and mineral buildup within the valve.
How to Test Your Water Heater’s TPR Valve
Pressure relief valves are usually found near the top of your unit, connected to a pipe that funnels water out if pressure builds up inside the unit. To test:
- Place a bucket on the floor underneath the valve to catch water released when you perform your test.
- To check for a leaking valve, feel the drain line with your hand to see if it’s hot. The drain line may be warm near the valve, which is normal. If the line is hot, the relief valve is opening.
- Gently raise the testing lever on the relief valve to release the pressure. Be careful — the water will be hot. Let the water drip out for a few seconds and then lower the valve again with caution (using force can damage the lever and leave you with a faulty valve). You should hear water discharging out of the relief valve drain line. If you do, your valve is working correctly.
Spotting a Problem with Your TPR Valve
If you don’t hear or see the water discharge during testing, or if your test lever won’t lift (make sure you don’t force it!), you have a problem in the valve. Call John Moore right away and we’ll send one of our licensed plumbing pros out to replace your TPR valve before it’s too late.
A Few Important Considerations
Don’t ignore leaks during the test: If the TPR valve leaks right after you test it, gently move the lever up and down a few times to loosen any debris that’s keeping the valve from closing and seating. If your TPR valve is working correctly after testing, but you see hot water spraying or dripping from the drain valve, lower the water heater’s temperature and/or pressure using the heater’s controller. If this doesn’t fix the problem, call John Moore’s plumbing pros to correct any critical issues with your water heater and TPR valve.
Make sure the TPR valve drain line is installed properly: The drain line for your TPR valve should angle downward to allow overflow water to drain away from the valve. If the drain line pipe is not angled downward along its entire length, overflow can’t escape. If this water pools at the outlet, it can corrode the valve shut. Also, water trapped along the drain line can freeze in cold weather. Either problem in the drain line could lead to a pressure buildup and explosion, even if the valve itself is working correctly.
Be sure your drain line angles downward, starting from the valve to the end that extends outside of the house. Outside, the pipe end should be above the ground, typically 6 to 24 inches, to prevent debris from entering and clogging the pipe.
Know when it’s time to replace your TPR valve: If your TPR valve hasn’t been tested or replaced in five years, experts agree it’s best to replace the valve. Remember, the TPR valve is your water heater’s most important safety feature. Ensuring it operates correctly is a top priority for any homeowner.
Pay attention to the small stuff: The pipe leaving the relief valve should be the same diameter as the valve’s exhaust port — usually 3/4 inch. This pipe should be made of a material that can’t be warped or damaged by excessive heat – copper piping is ideal. If the pipe is too small for the exhaust port or not made of heat-resistant material, it’s a good idea to have a licensed plumber replace it with the correct size and material to ensure it functions correctly and safely.
If you find problems in your TPR valve’s operation, have trouble testing the valve, or encounter drain line issues, call us today. Our licensed plumbers arrive ready to repair or replace water heater valves and lines quickly to keep your home and family safe. Plus, we’ll make sure you know how to test your TPR valve so you can spot small problems before they become costly headaches!
